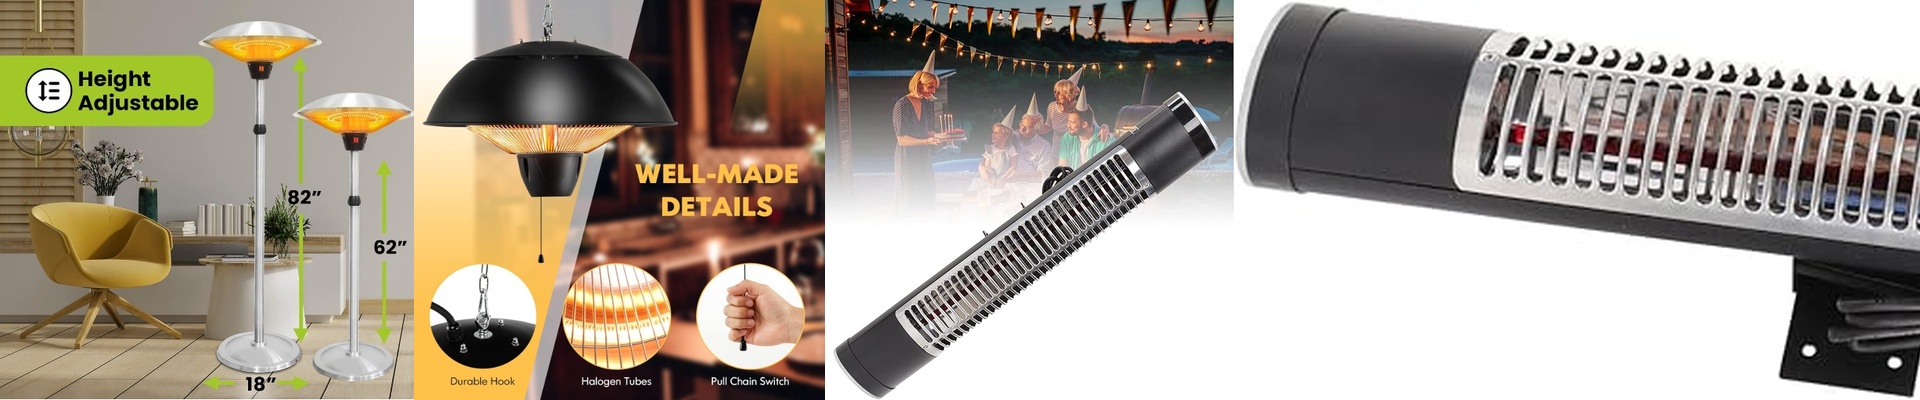
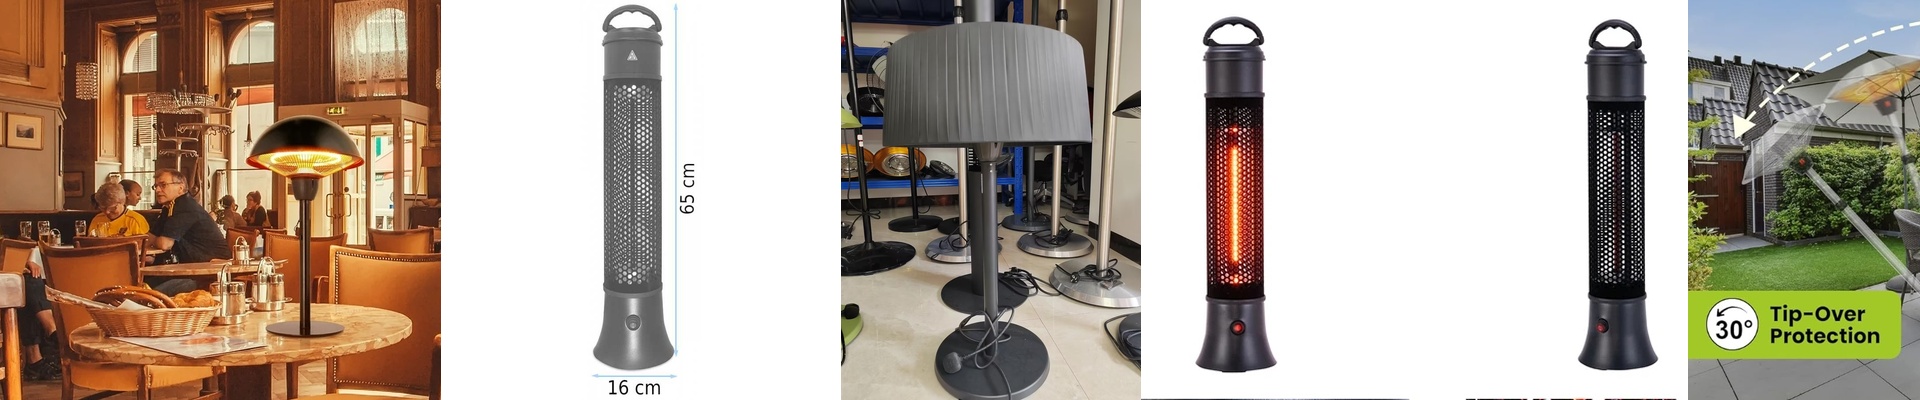
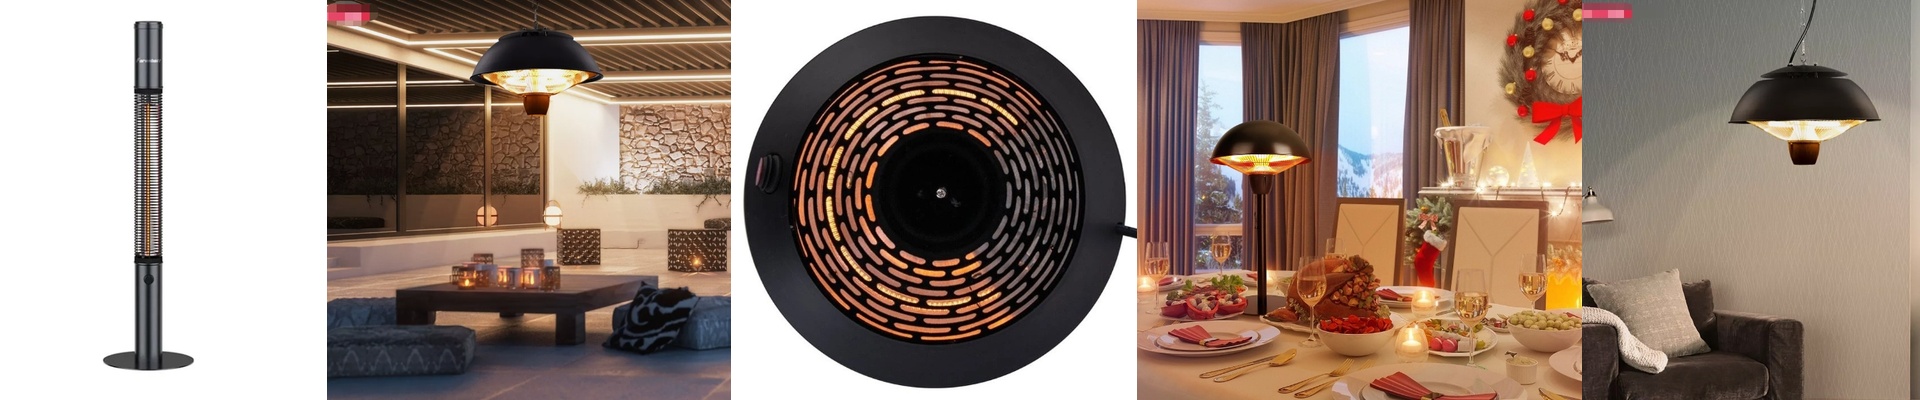

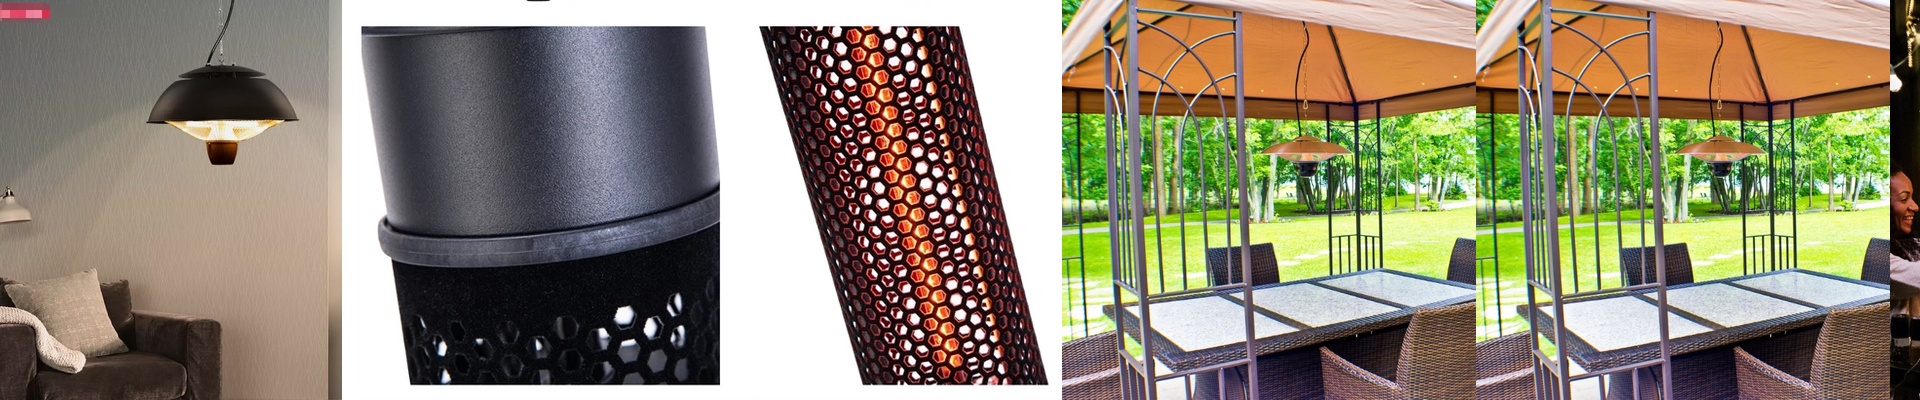
Ever run into that familiar frustration with an infrared wall heater—too intense up close, yet the far corner stays cold? Nine times out of ten, it comes down to mounting height and angle. Radiant warmth travels in straight lines, and where you hang the unit decides whether that energy lands where you need it or gets wasted. What’s actually going on under the hood Infrared wall heaters work by radiant heat, hitting people and objects directly instead of heating the air. Most use a carbon fiber element or a quartz tube, and the output feels like standing in a patch of sun. The coverage pattern is set by the reflector and the beam angle. A 120° spread gives you a broad swath at moderate distance, while a tighter 90° beam reaches farther with a more focused punch. Output usually lands between 1,500 and 5,000 watts, sized to the space. For residential installs, 120V is typical—plug into a dedicated outlet or hardwire it. On the safety side, look for tip-over protection, an overheat cutoff, and a mounting bracket that’s up to the job. Why mounting height makes all the difference Height directly shapes comfort. Hang it too low, and you end up with a hot spot on the floor and a cold face. Too high, and the beam overshoots, leaving people in the chill. In living rooms and bedrooms, aim for 6 to 7 feet off the floor, angling the unit slightly downward toward the seating area. In bathrooms, keep the heater at least 6 feet from the tub or shower, and angle it to warm the chair or bench—not the wet floor. On a covered patio, mount it 7 to 8 feet high and angle it to cover the seating zone while keeping direct glare out of people’s eyes. Do this, and you get infrared warmth where you actually sit, keep energy use focused, and feel comfortable faster than convection ever delivers. The practical details that keep you out of trouble Clearance matters. Keep the heater at least 3 feet from combustibles and fabrics, and follow the label for distance to furniture and curtains. Most units aren’t rated for wet locations, so keep them under cover and away from rain or sprinklers. With vaulted ceilings, a narrower beam angle helps drive warmth downward; a wide beam tends to scatter up into the ceiling void. For steady comfort, pair the heater with a thermostat to avoid overheating. And if you’re unsure, do a quick test run with a temporary mount—you’ll see exactly where the warmth lands before you commit to drilling.